Ford Mustang GT: How to Replace Spark Plugs
The spark plugs work together with your fuel to spark up your engine and allow it to start. Learn how you can change your spark plugs in the Ford Mustang GT, 2005-2014.


Introduction
The spark plugs in the Ford Mustang GT are located on the cylinder head on top of your engine. They work together with the fuel and air mixture to spark up your car, creating a small explosion that allows your car to start. When the spark plugs burn, they lose the ability to spark properly, which results in loss of power, slow start, and often times your car won't start at all. Replacing the spark plugs is one of the few procedures left for car owners to replace, because it is rather simple and straightforward. Be sure to purchase the proper spark plugs for your year and model. Read below to learn how to change the spark plugs yourself in the Mustang GT.
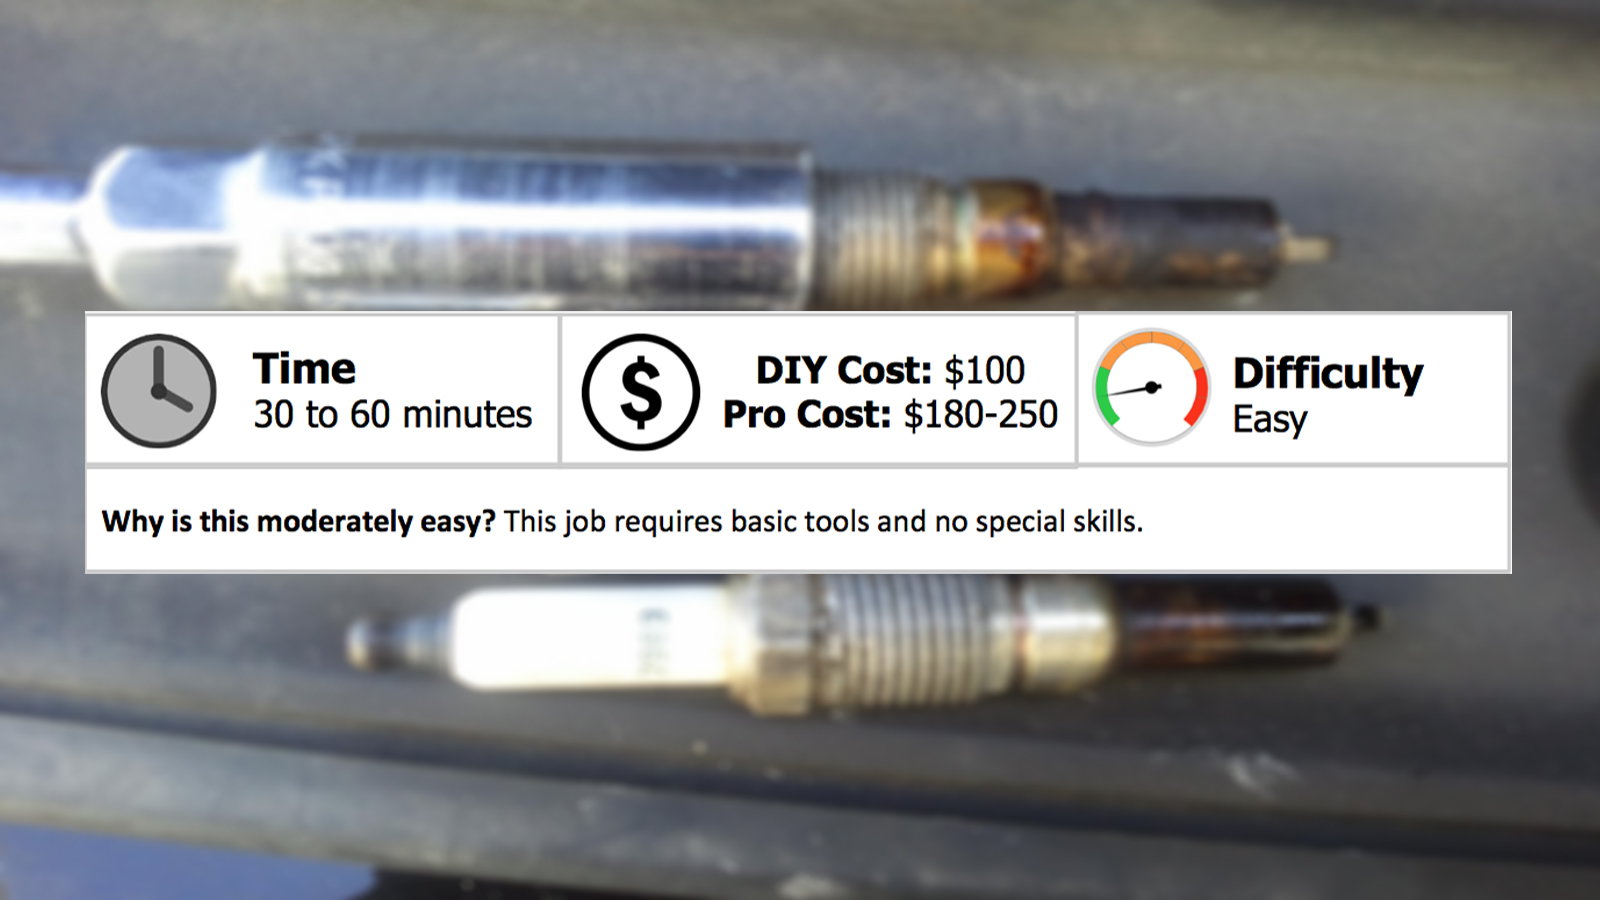
Time, Cost, Difficulty
This job requires basic tools and no special skills.
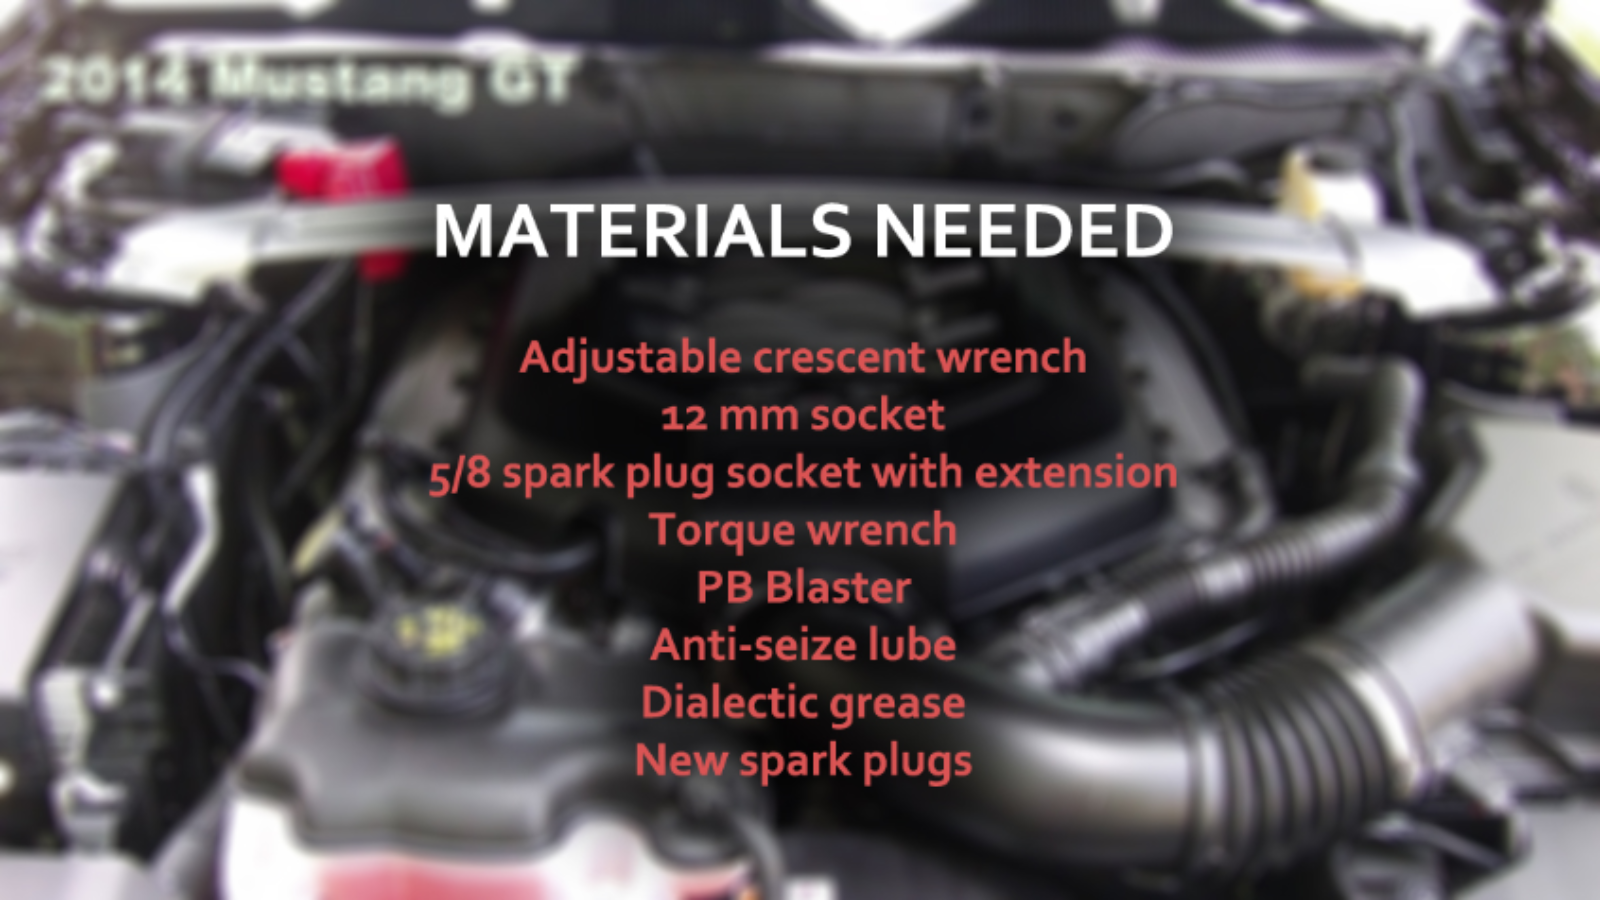
Materials Needed
Materials Needed
- Adjustable crescent wrench
- 12mm socket
- 5/8 spark plug socket with extension
- Torque wrench
- PB Blaster
- Anti-seize lube
- Dialectic grease
- New spark plugs
Step 1 - Disconnect Battery
Remove the negative (black) battery terminal, then wrap it in a towel to prevent it from touching any metal and creating a spark.
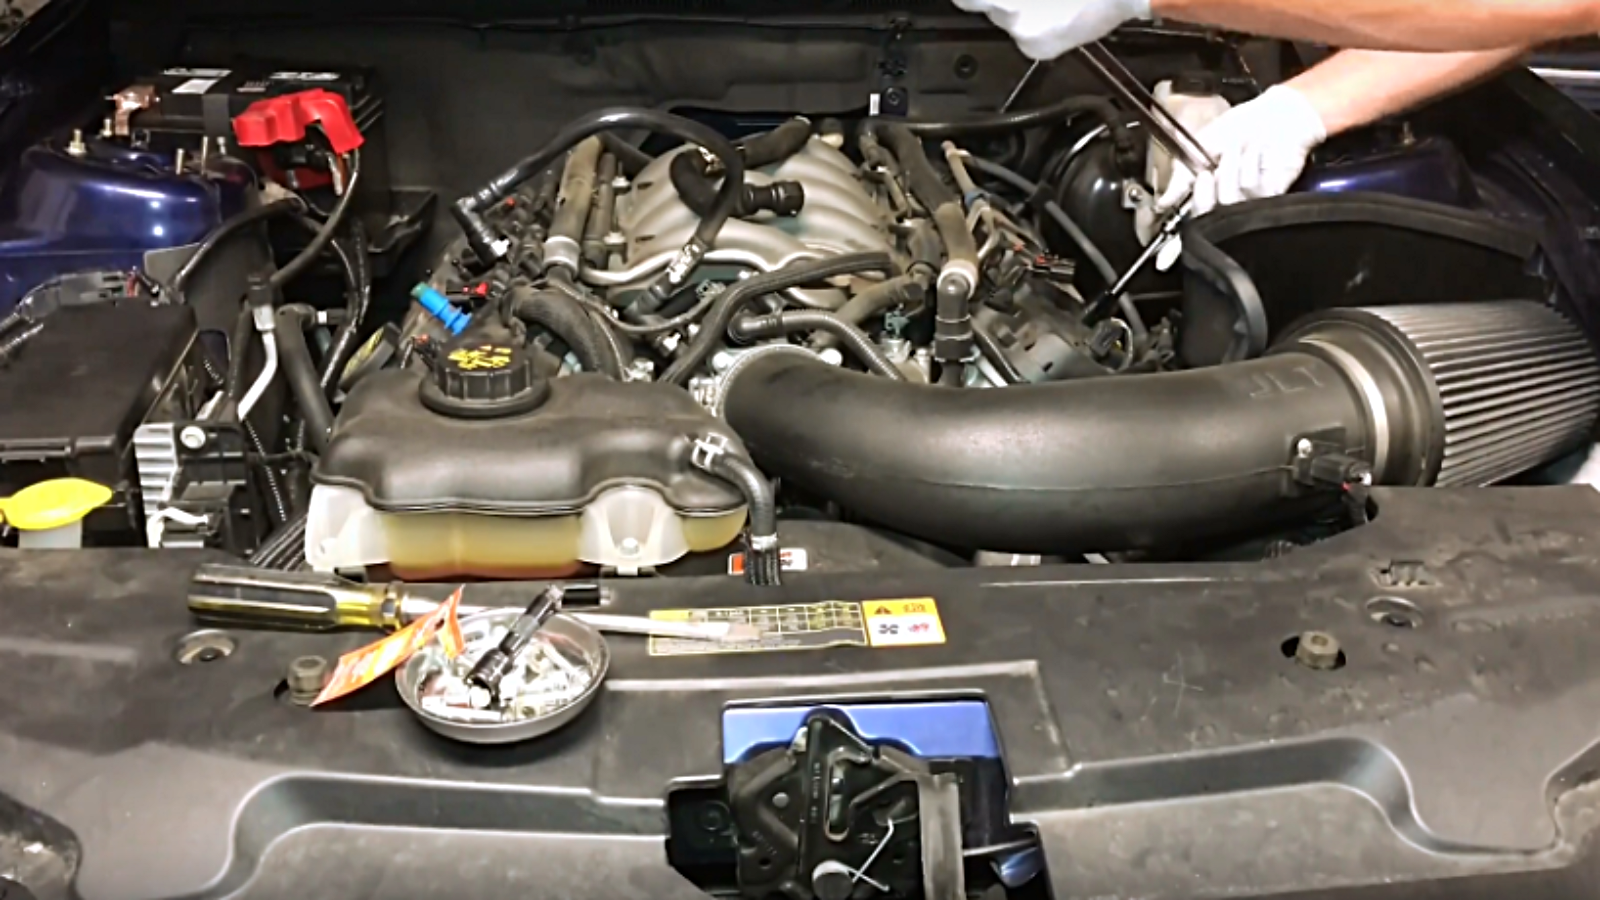
Step 2 - Remove strut tower brace and covers
If your GT is equipped with a strut tower brace, you will need to remove that before continuing. You will also need to remove your engine cover and the two valve covers. Depending on the year of your Mustang, you will likely have to remove a couple of hoses to get the valve covers off.
Step 3 – Remove coil pack wiring harness and bolt
Each coil has an electrical coil pack wiring harness connected to the top of it. To remove these electrical units, you will have to squeeze the tab and pull them out. Extract the coil packs by unbolting the 7 or 8mm bolt to the right of each coil pack. In the GT, there will be eight total.
>>If you have any additional tips for the do-it-yourselfer, please add them here.
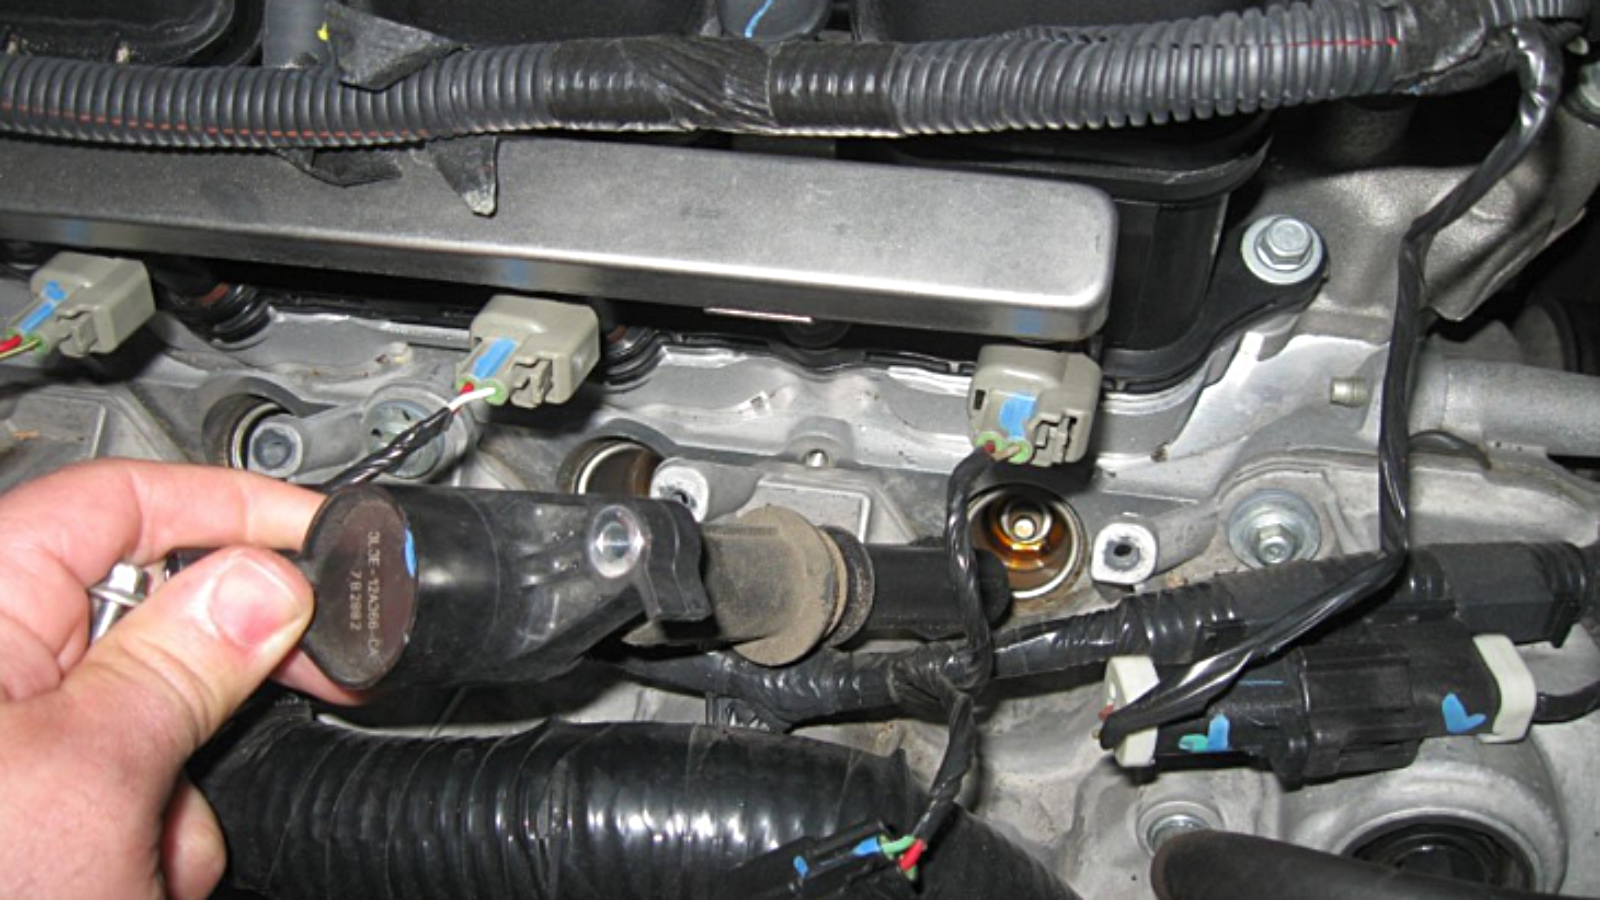
Step 4 - Remove Coil Pack
Pull the coil packs out gently. There will be eight of these as well.
>>If you have any additional tips for the do-it-yourselfer, please add them here.
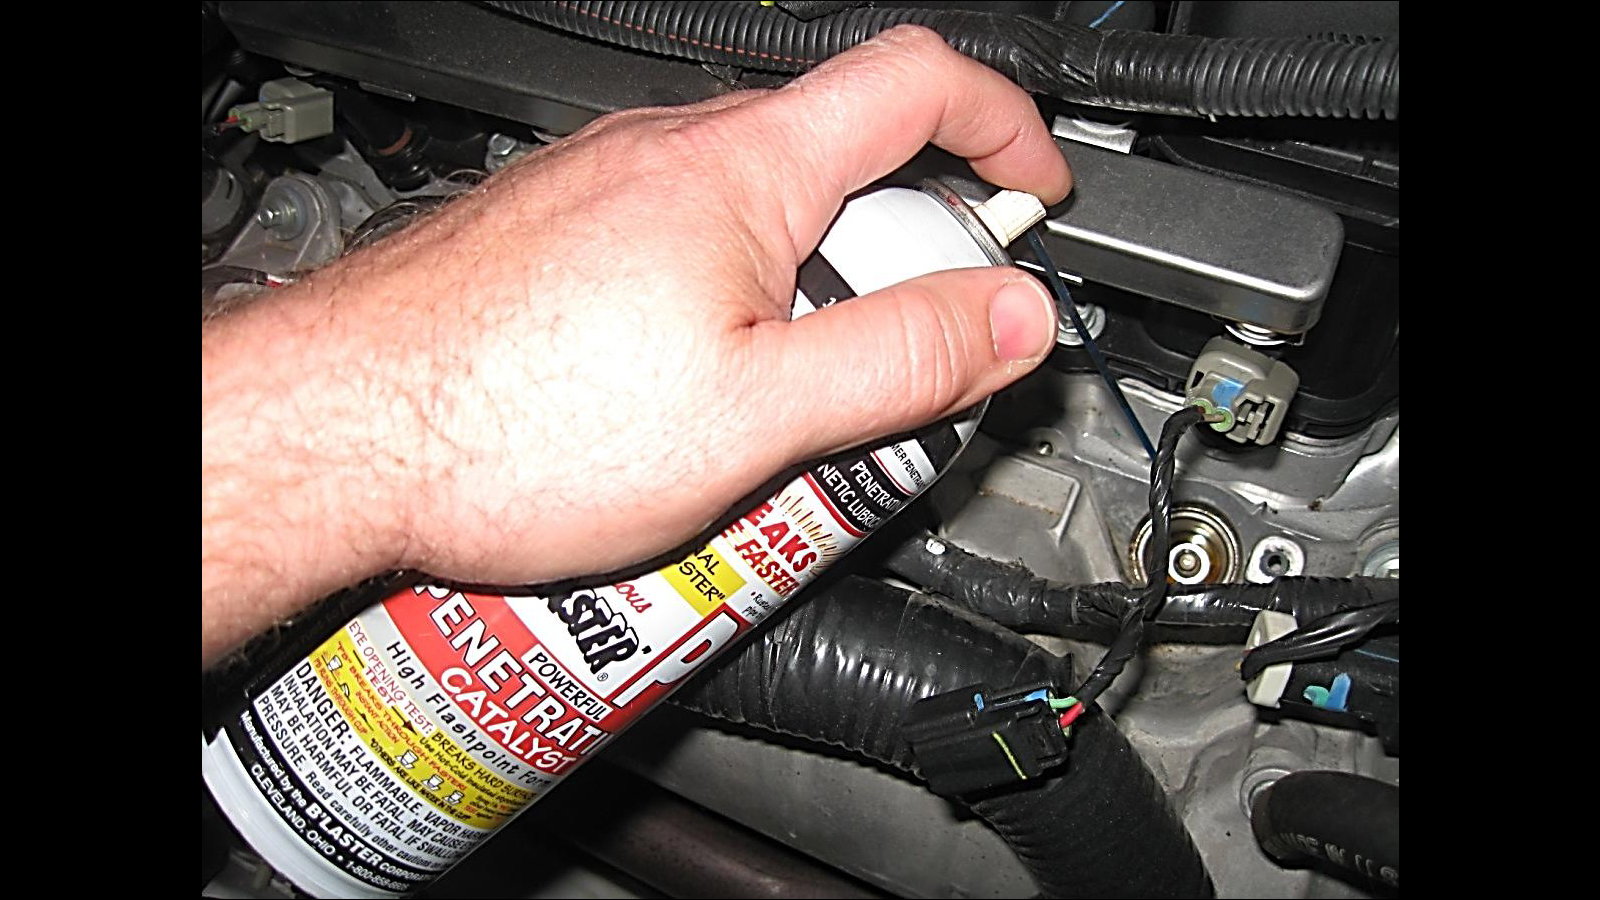
Step 5 - PB Blaster
Before extracting the old spark plugs, spray them with PB Blaster and wait 15 minutes. This allows the spark plugs to loosen up so they don't break when you're removing them.
>>If you have any additional tips for the do-it-yourselfer, please add them here.
Step 6 – Remove spark plugs
Use a 5/8" spark plug socket and long extension rod to remove the old spark plugs. If they are torqued too tightly, don't force them. Try some more PB Blaster or check the forum for other loosening agents (such as WD-40). Once they are loose, you should then be able to twist the old spark plugs out.
>>If you have any additional tips for the do-it-yourselfer, please add them here.
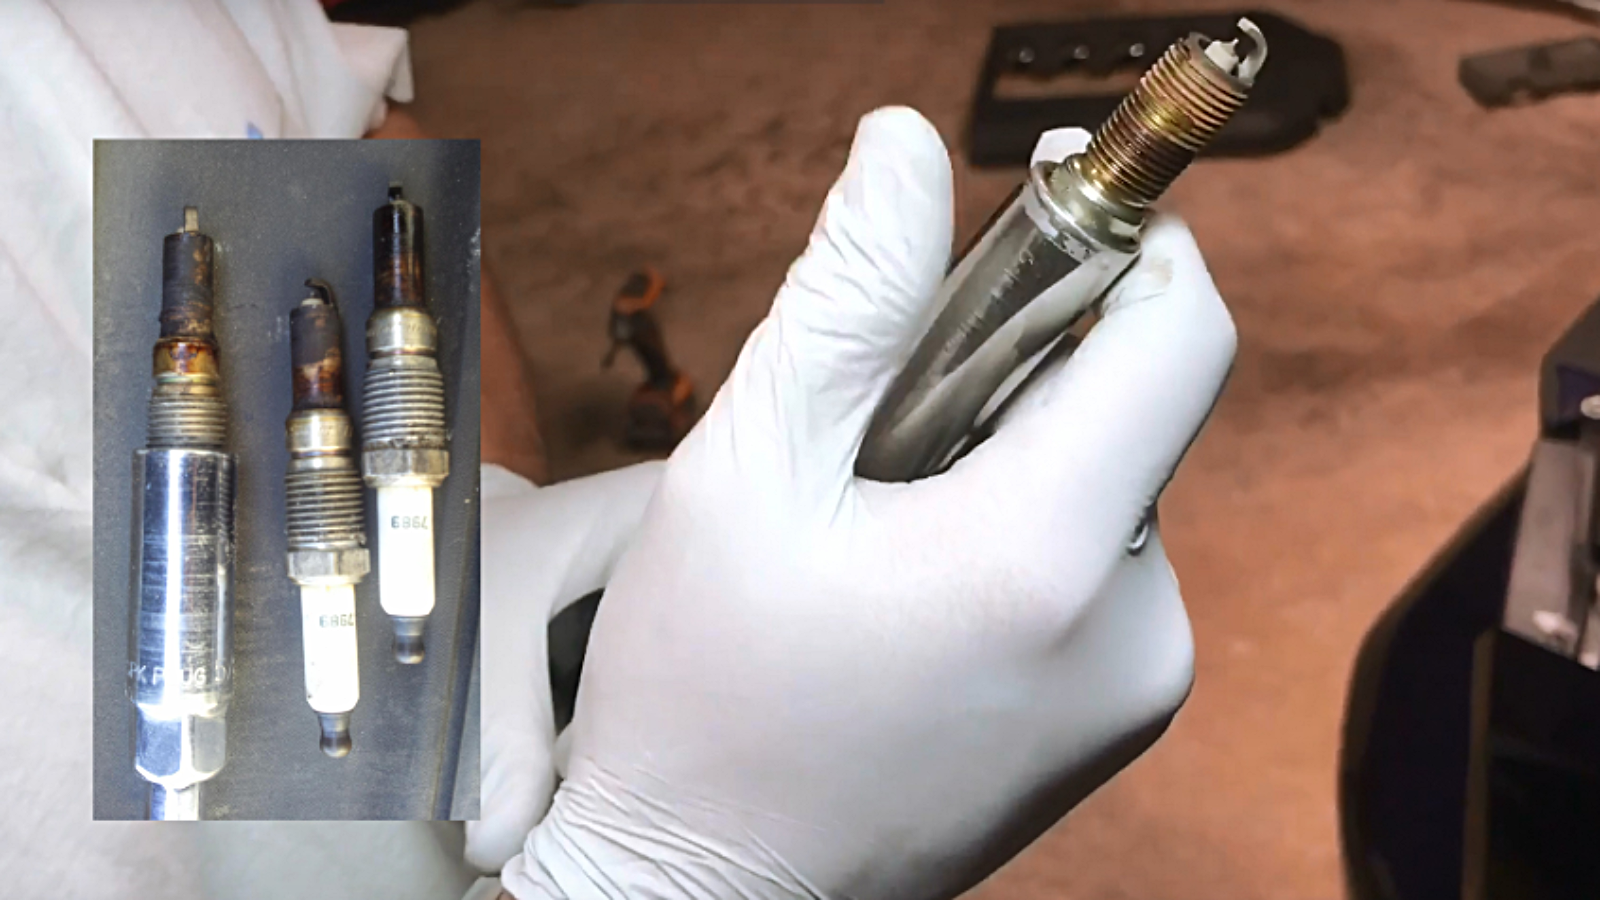
Step 7 - Examine old spark plugs
This old spark plug doesn't look too bad, just a little worn. But they can look much worse, as shown in the inset. In any case, a new spark plug will create a better connection and a more reliable start.
>>If you have any additional tips for the do-it-yourselfer, please add them here.
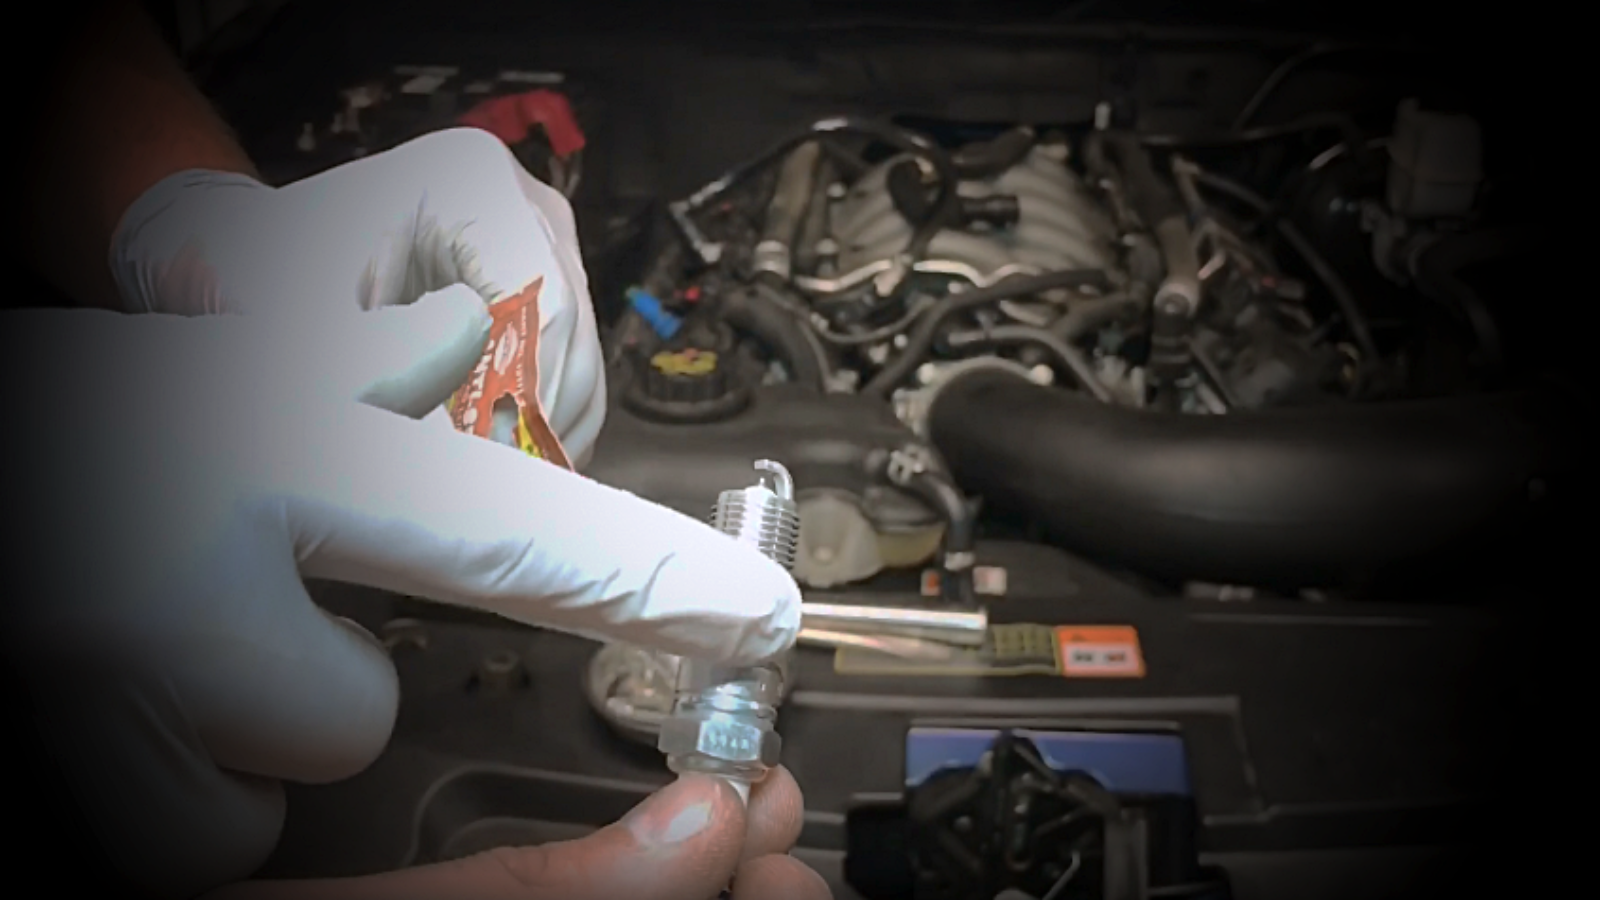
Step 8 – Anti-seize lubricant
Smear a little bit of high-temperature nickel anti-seize lubricant on the threads before installing the new spark plugs. This will prevent them from getting stuck the next time you want to remove and replace them. You don't need too much and you want to spread it around the threads evenly.
>>If you have any additional tips for the do-it-yourselfer, please add them here.
Step 9 - Installing the new spark plugs
The same way they went out is the way you put them back in. Torque them to spec, which 126 in-lb or 10 ft-lb. Once they are tight, go a little tighter, but don't strip the threads. Then put the coil packs in the car. Be sure to add some dialectic grease* to them first for a good seal and contact (to avoid misfires). Place the boots back over the spark plugs and give them a wiggle to spread the dialectic grease around. Once everything is installed, and you've put your covers and brace back on and reconnected the battery, crank your engine, listen to that rumble, and enjoy the road that lies ahead!
*According to forum member Sharky, brake caliper grease is better than dielectric grease because it's not as good a conductor of heat and does just about the same thing as the dielectric. Motorcraft recommends the following chemicals and lubricants for spark plugs:
- Power Flush Injector Fluid
- Silicone Brake Caliper Grease and Dielectric Compound
- High-Temperature Nickel Anti-Seize Lubricant
Our thanks to Pureza Garage 704 for providing some of the images.
>>If you have any additional tips for the do-it-yourselfer, please add them here.